
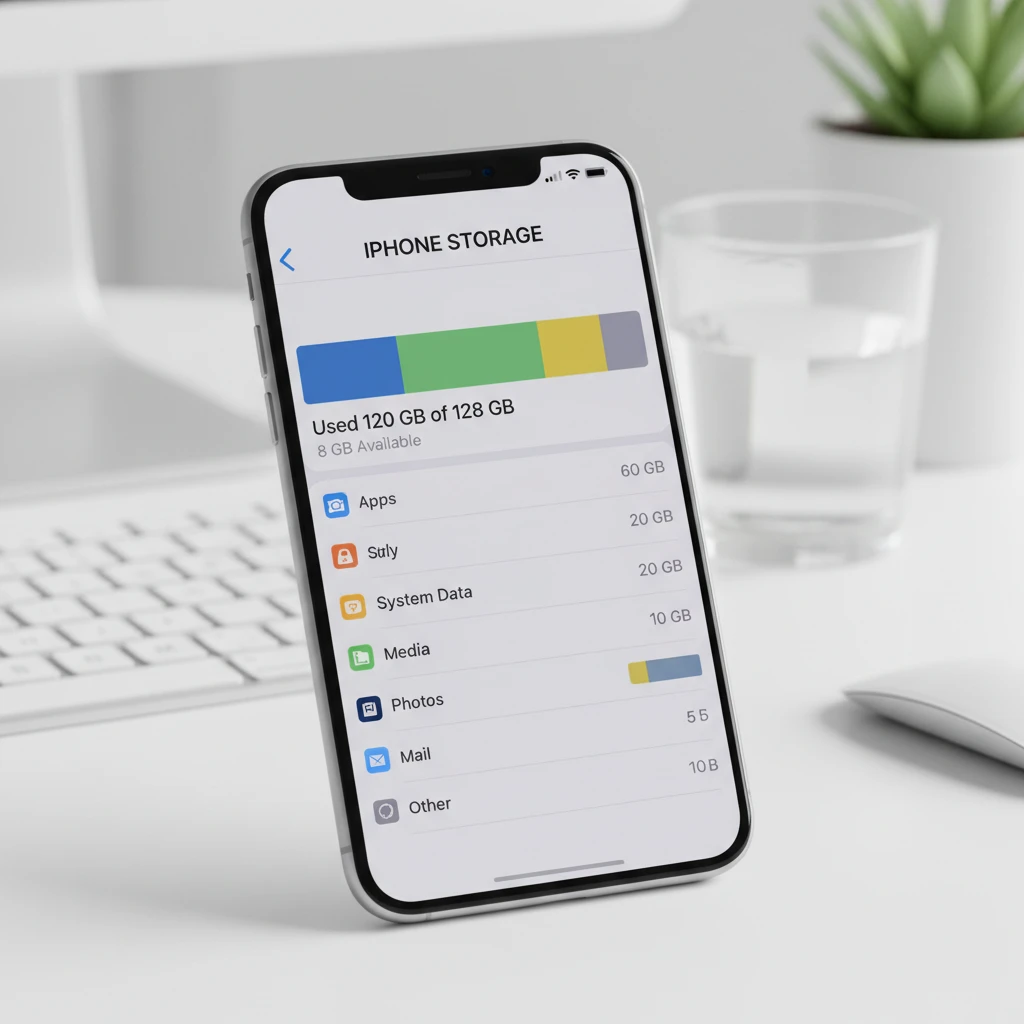
That dreaded “iPhone Storage Almost Full” banner always seems to appear at the worst possible moment: just as you lift the phone to catch a sunset, a toddler’s first steps, or a concert encore. The usual advice is brutally simple: delete some photos. But for many of us, the camera roll is the whole point of owning the device. Those pictures are memories, receipts, documents, and proof of that one great haircut.
The good news is that photos are rarely the only thing eating your storage, and often they are not even the biggest culprit. Below is a practical, tested walkthrough of how to get gigabytes back while leaving every picture exactly where it is. Work through the sections in order, and check your free space after each one so you can see which steps pay off the most.
Start by Finding Out What Is Actually Using Your Space
Guessing is how people end up deleting the wrong things. Your iPhone has a built-in breakdown that shows exactly where the bytes are going.
- Open Settings.
- Tap General, then iPhone Storage.
- Wait a few seconds while the colored bar at the top finishes calculating.
The bar splits your storage into categories such as Apps, Photos, Media, Messages, System Data, and iOS. Below it you will see a list of every installed app, sorted by size. Spend a minute here before touching anything. Many people are surprised to find that a single messaging or social app is quietly holding several gigabytes of cached files, or that Messages alone has swallowed more than their entire music library.
You will also notice a short list of recommendations near the top, such as offloading unused apps or reviewing large attachments. Apple generates these based on your own usage, so they are a good map of the easiest wins. Apple’s own iPhone support pages explain how this storage screen works if you want the official reference.
Offload Apps You Rarely Open
Offloading is one of the most underrated features on the iPhone. It removes the app itself but keeps its documents and data. The icon stays on your Home Screen with a small cloud symbol, and when you tap it, the app downloads again and picks up exactly where you left off.
How to offload a single app
- Go to Settings > General > iPhone Storage.
- Tap the app you want to shrink.
- Choose Offload App.
How to automate it
On the same storage screen, you can tap Enable next to “Offload Unused Apps.” Your iPhone will then remove apps you have not touched in a while, but only when space runs low. It is a hands-off safety net, and it is especially helpful if you tend to download travel, event, or shopping apps that you use twice a year.
Offloading differs from deleting in one key way. Deleting an app erases its stored data too, while offloading preserves it. Think of it as putting a winter coat into a vacuum bag instead of throwing it away. It takes up far less room, and it is still there when the weather turns.
Clear the Cache That Apps Never Clean Up
Every browser, social feed, and streaming service stores temporary files so things load faster. Over months, those temporary files stop being temporary. It is common to find an app with 200 MB of its own software and 3 GB of “Documents & Data.”
Safari
Safari keeps website data, cookies, and history. To clear it:
- On recent versions of iOS, open Settings > Apps > Safari. On older versions, open Settings > Safari.
- Tap Clear History and Website Data.
- Confirm your choice.
You will be signed out of some websites, so keep your passwords handy. For finer control, scroll down to Advanced > Website Data and remove only the heaviest sites.
Also check your Reading List. If you saved articles for offline reading, they may be stored on your phone. You can remove offline copies by swiping across items in the Reading List and choosing the remove-offline option.
Third-party apps
Most apps do not offer a clear-cache button, which is frustrating. The reliable workaround is a two-step reinstall. Offload the app, then reinstall it from the same storage screen, or delete it and download it again. Cached data resets to near zero, and for apps where you sign in with an account, your content returns from the cloud. Do this with the three or four largest offenders and you can recover several gigabytes in under ten minutes.
Tame Your Messages
Text conversations seem harmless, but years of videos, voice notes, stickers, and forwarded memes add up. On a heavily used phone, Messages can easily occupy 10 GB or more.
Review large attachments
Inside Settings > General > iPhone Storage > Messages, you will find categories like Photos, Videos, GIFs and Stickers. Tap Review Large Attachments (or the equivalent section) to see the heaviest files in order. Here is the key point for our purposes: you are deleting duplicate copies sitting inside conversations, not the original pictures in your camera roll. If you received a video and saved it to Photos, the copy in the chat is redundant.
Set messages to expire
- Open Settings > Messages.
- Scroll to Keep Messages.
- Change it from Forever to 1 Year or 30 Days.
That setting removes old message history, so use it only if you do not need ancient conversations. If you do, stay on Forever and instead address audio messages below.
Audio messages
Under Settings > Messages > Audio Messages, set Expire to After 2 Minutes. Otherwise, voice clips stay on your phone indefinitely.
Rethink Your Camera Settings (Without Touching Existing Photos)
You do not have to delete past pictures to stop future ones from devouring space. A few camera choices make a big difference over time.
Use the efficient format
Go to Settings > Camera > Formats and select High Efficiency. This captures photos in HEIF and videos in HEVC, which are typically about half the size of the older, more universal formats at similar quality. If you regularly share files with devices that struggle to open them, iOS will convert automatically in many cases when you send or transfer.
Lower the video resolution when it does not matter
Open Settings > Camera > Record Video. A minute of 4K footage at 60 frames per second can use several hundred megabytes, while 1080p at 30 fps uses a fraction of that. Save the high-end settings for moments that justify them, like a wedding or a long vacation drive, and leave everyday clips at a modest quality.
Think twice about extras
Features such as Live Photos, ProRAW, and cinematic or action modes are impressive, but they create larger files. You can toggle them off for casual shooting. This does not change anything already in your library.
Let iCloud Do the Heavy Lifting with Smart Photo Storage
This is the one tip on the list that touches the Photos app, yet it does not delete anything. With iCloud Photos, your full-resolution originals live in the cloud, while your iPhone keeps smaller, device-friendly versions. When you open a picture or video, the original downloads as needed.
- Open Settings and tap your name at the top.
- Choose iCloud > Photos.
- Turn on Sync this iPhone (labelled iCloud Photos on some versions).
- Select Optimize iPhone Storage.
Every picture remains visible in your library, in every album, on every Apple device you sign into. The difference is where the heavy files live. Over a large library, the savings can be dramatic, sometimes tens of gigabytes. You can read more about plans and how syncing works on the official iCloud page from Apple.
A few honest caveats are worth noting:
- The free iCloud allowance is small, so a big library will likely need a paid storage tier.
- Optimized photos require a connection to download originals, so a long flight without Wi-Fi might mean fuzzier thumbnails for some items.
- Be careful about the setting called “Download and Keep Originals.” It does the opposite of what you want here.
Remember, too, that iCloud Photos is a sync service, not a traditional backup. If you delete a picture on one device, it disappears from the others. Since our goal is not deleting anything, that works in your favor, but it is good to understand.
Clean Up Music, Podcasts, and Downloaded Videos
Media is the second most common space hog after photos. Offline downloads are convenient, but they pile up quietly.
Music
Open Settings > Apps > Music > Downloaded (or Settings > Music > Downloaded Music on older versions). You will see how much space your offline songs take. Swipe left on artists or albums you no longer need and remove the download. The song remains in your library if you have a subscription, ready to stream again. Within the same menu, turn on Optimize Storage so your iPhone removes tracks you rarely play when space is tight.
Podcasts
Podcast episodes are surprisingly large, particularly long interview shows. In the Podcasts app, adjust the setting that deletes played episodes automatically, and limit how many episodes are saved per show. A show you follow casually does not need ten unplayed episodes sitting on your phone.
Downloaded movies and shows
If you downloaded films for a trip, they are probably still there. Check the storage list for video or streaming apps and remove finished downloads. A single HD movie can occupy 2 to 5 GB.
Delete the Hidden Leftovers You Never Notice
Some of the most satisfying savings come from files you have forgotten exist.
Old iOS update files
If an update downloaded but you never installed it, the installer may sit in your storage list. Look for it in iPhone Storage. If it appears, tap it and select Delete Update. Your phone will download it again later when you are ready.
The Files app
Open the Files app and browse On My iPhone and Downloads. Old PDFs, ZIP archives, and email attachments collect here. Sort by size and remove anything obsolete. Do not forget the Recently Deleted folder, since items stay there for up to 30 days and still count toward your storage.
Voice Memos
Long recordings take more space than you might expect. If you have lectures or meeting recordings you no longer need, remove them, then open the Recently Deleted section and clear it. Otherwise, they hang around.
Mail attachments
The Mail app downloads attachments and message bodies for offline reading. If your storage list shows Mail using multiple gigabytes, removing and re-adding the account in Settings > Mail > Accounts forces a fresh, lighter sync. Make sure your messages are stored on the server before you try this.
Offline maps
If you downloaded large regions for a trip, they remain until you remove them. In the Maps app, open your profile and look for the offline maps section to delete regions you no longer need.
Understand and Shrink “System Data”
System Data (previously labelled “Other”) is the category that confuses people the most. It includes caches, logs, Siri voices, temporary files, and other items that do not fit neatly elsewhere. You cannot delete it directly, but you can influence it.
- Restart your iPhone. It sounds too simple, but a reboot clears temporary files and can shave off a noticeable chunk.
- Update iOS. New releases often include cleanup improvements and bug fixes that stop runaway cache growth.
- Offload bloated apps. A lot of what registers as System Data is actually app cache in disguise.
- Limit streaming caches. Frequent streaming without downloads can still generate temporary data, which clears over time or after a restart.
If System Data remains huge, say more than 20 GB, after you have tried everything above, a full backup followed by a restore can reset it. That is a heavier process, so treat it as a last resort and make sure the backup completes first.
A Realistic Example: Reclaiming 18 GB in an Afternoon
To show how this adds up, imagine a typical 128 GB iPhone that is nearly full. The owner takes a lot of pictures, is part of several group chats, and travels often. Here is how an afternoon of cleanup might play out:
- Messages attachments reviewed: roughly 6 GB recovered, mostly duplicate videos.
- Three heavy apps reinstalled to reset cache: around 4 GB.
- Offline music and podcast downloads trimmed: about 3 GB.
- Old downloaded films removed: another 4 GB.
- Safari data cleared and a restart: close to 1 GB.
That is 18 GB without touching a single photo, which is enough room for months of normal use. Your numbers will differ, but the pattern tends to hold: messaging, app cache, and offline media account for the bulk of avoidable storage.
Quick Comparison: Which Fix Gives the Biggest Return?
Biggest savings, lowest effort
- Optimize iPhone Storage with iCloud Photos
- Reviewing large message attachments
- Offloading unused apps
Moderate savings
- Resetting bloated app caches by reinstalling
- Removing offline music, podcasts, and videos
- Switching camera formats and video quality
Small but worthwhile
- Clearing Safari website data
- Deleting stale update files
- Emptying Recently Deleted in Files and Voice Memos
- Restarting the iPhone
Pros and Cons of Going the Cloud Route
Since iCloud Photos is the single most powerful option here, it deserves an honest look.
Advantages
- Your entire library remains accessible on all of your Apple devices.
- Storage savings grow automatically as your library grows.
- Edits, albums, and favorites stay in sync.
Drawbacks
- There is a recurring cost once you pass the free allowance.
- Originals need a decent connection to download.
- Deleting a picture on one device removes it everywhere, so you have to be careful.
If a monthly fee is not appealing, another approach is to keep Photos as it is and lean harder on the other methods in this guide. Between messaging cleanup, app resets, and media management, many people find they never need to touch their library.
Build a Routine That Keeps Space Free
A one-time cleanup helps, but habits keep the problem from returning. A few small routines make a big difference:
- Once a month: open the iPhone Storage screen and glance at the top five apps by size.
- After every trip: remove downloaded films, offline maps, and playlists you no longer need.
- Every few months: reinstall the apps that grow the fastest, particularly social and browsing apps.
- Keep automatic features on: offload unused apps, optimize music storage, and set audio messages to expire.
- Keep at least 10 percent free: an iPhone with breathing room runs updates more smoothly, takes better burst shots, and is less likely to stall.
Your photos are the part of your phone that you cannot replace, so it makes sense to protect them and clear out everything else first. With the steps above, you can usually free up a surprising amount of space, enough that the “Storage Almost Full” warning stays away, and your camera is ready the next time something unforgettable happens.



Deixe um comentário